How to clean an electric pad printer?
Dec 18, 2025
Hey there, folks! As a supplier of electric pad printers, I know how important it is to keep these machines in tip - top shape. A clean electric pad printer not only ensures high - quality prints but also extends the lifespan of the machine. So, today I'm gonna share some tips on how to clean an electric pad printer.
Pre - cleaning Preparations
Before you start cleaning, it's crucial to take some safety precautions. First off, turn off the power supply of the electric pad printer. This is a no - brainer as it can prevent any electrical accidents. Also, make sure to wear appropriate protective gear like gloves and safety glasses. You don't want any printing ink or cleaning solvents splashing in your eyes or on your skin.

Next, gather all the necessary cleaning tools and materials. You'll need things like a soft - bristle brush, lint - free cloths, cleaning solvents recommended by the manufacturer, and some paper towels. Having everything within reach will make the cleaning process much smoother.
Cleaning the Printing Plate
The printing plate is where the design is transferred to the item being printed. Over time, ink residues can build up on it, which can affect the print quality. Start by removing the printing plate from the machine. This is usually a straightforward process, but refer to your machine's manual if you're unsure.
Once you've taken out the plate, use a cleaning solvent on a lint - free cloth to wipe away the ink. Be gentle while cleaning to avoid scratching the plate. If there are stubborn ink stains, you can use the soft - bristle brush to lightly scrub the areas. After cleaning, rinse the plate with clean water and dry it thoroughly with a paper towel. Make sure there's no moisture left on the plate before reinstalling it in the machine.
Cleaning the Pad
The silicone pad is another crucial component of the electric pad printer. It picks up the ink from the printing plate and transfers it to the product. Pad cleaning is essential for maintaining print clarity.
First, check the pad for any visible debris or dried ink. You can use a dry, lint - free cloth to wipe off loose particles. For more thorough cleaning, use a pad - cleaning solvent. Apply a small amount of the solvent to a cloth and gently rub the pad in a circular motion. Avoid using too much pressure, as it can damage the pad.
After cleaning, take a clean, damp cloth and wipe the pad to remove any remaining solvent. Then, dry the pad with a paper towel. If the pad is severely dirty or damaged, it might be time to replace it. And here, I'd like to mention that our company offers a wide range of high - quality pads for different models of electric pad printers.
Cleaning the Ink Cup
The ink cup holds the printing ink and feeds it to the printing plate. It's prone to ink build - up and clogs. To clean the ink cup, first, empty any remaining ink from it. You can do this by pouring it back into the ink container if it's still usable.
Next, use a cleaning solvent to soak a lint - free cloth and wipe the inside of the ink cup. Make sure to clean all the corners and edges where ink can accumulate. For stubborn ink deposits, you can let the cleaning solvent soak in the cup for a few minutes before wiping it again.
Once the inside is clean, rinse the ink cup with clean water and dry it completely. A dry ink cup will prevent any issues with ink drying and clogging in the future.
Cleaning the Machine Exterior
Don't forget about the outside of the electric pad printer! Over time, dust, dirt, and ink splatters can make the machine look messy and can even affect its performance in some cases.
Use a dry or slightly damp cloth to wipe the exterior of the machine. Pay attention to areas like buttons, switches, and the control panel. If there are any sticky ink residues on the exterior, you can use a small amount of mild cleaning solution on the cloth to clean them. But make sure not to let the liquid seep into the machine.
Lubricating Moving Parts
After cleaning, it's a good idea to lubricate the moving parts of the electric pad printer. This helps to keep the machine running smoothly and reduces wear and tear. Refer to the machine's manual to identify the specific moving parts that need lubrication.
Use a lubricant recommended by the manufacturer. Apply a small amount of the lubricant to the parts and then move them back and forth a few times to distribute the lubricant evenly. This simple step can significantly improve the performance and longevity of your machine.
Regular Maintenance Schedule
To keep your electric pad printer in great condition, it's essential to establish a regular maintenance and cleaning schedule. For light - use machines, a weekly cleaning routine might be sufficient. But if your machine is used more frequently, you might need to clean it every few days.
Regular cleaning not only ensures the best print quality but also saves you money in the long run by preventing costly repairs.
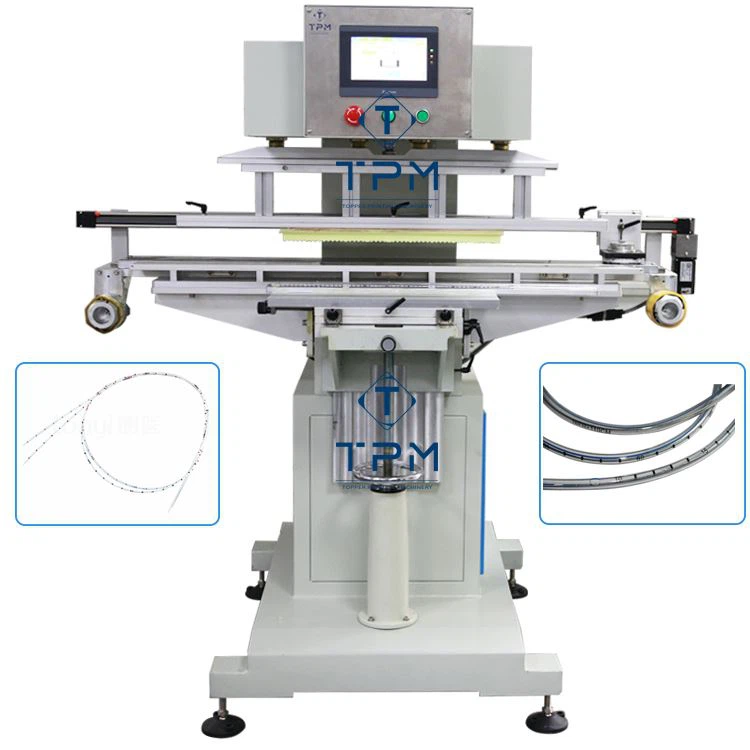
Now, if you're in the market for a new electric pad printer or related parts, we've got some great options for you. Check out our 4 Color Silicone Pad Printing Machine for high - quality multi - color printing. If you're printing on pens, our Multi Color Pad Printing Machine For Pens is a perfect choice. And for medical applications, don't miss our Servo Medical Catheter Pad Printing Machine.
If you're interested in any of our products or have questions about cleaning or maintenance, feel free to reach out for a purchase discussion. We're more than happy to help you find the best solution for your printing needs.
References
- Manufacturer's manual of electric pad printers
- Industry best practices for pad printer maintenance